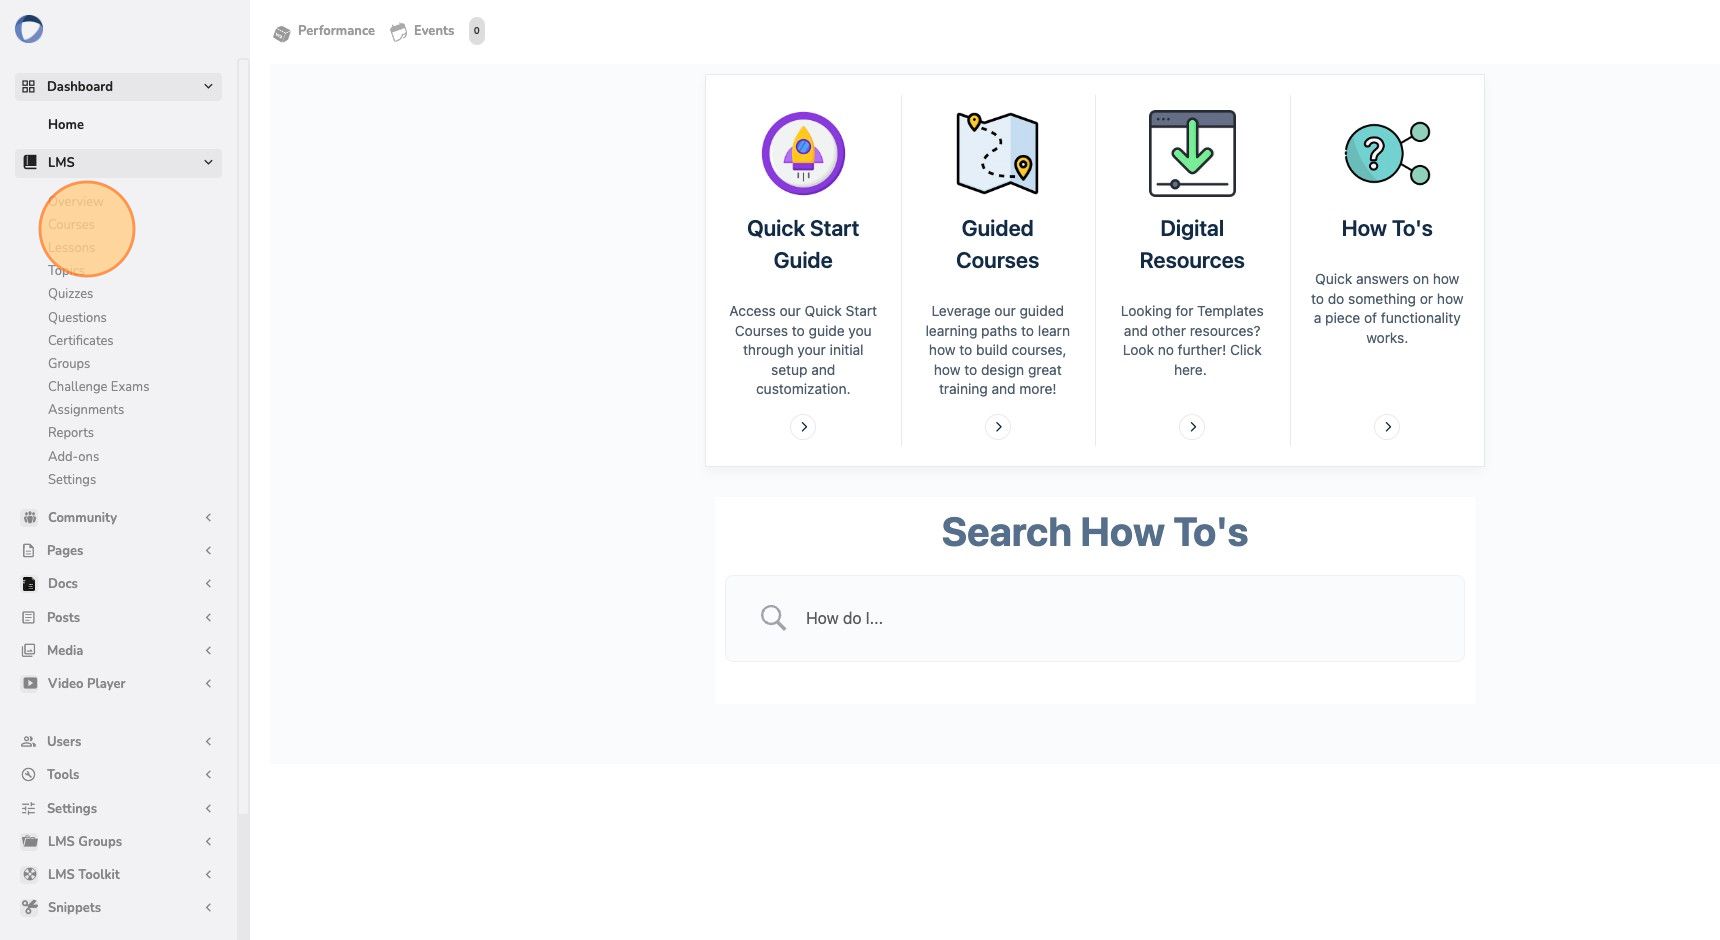
You can also learn how to customize your Performance Platform by taking the Quick Start Guide Course.
Adding a course can be accomplished through the admin panel. Click on the blue icon in the top left corner to access the Admin Panel. The Courses are added under LMS->Courses. Below are a video and step-by-step instructions on how to add a course:
Video: How to Add a Course #
Step-by-Step Guide #
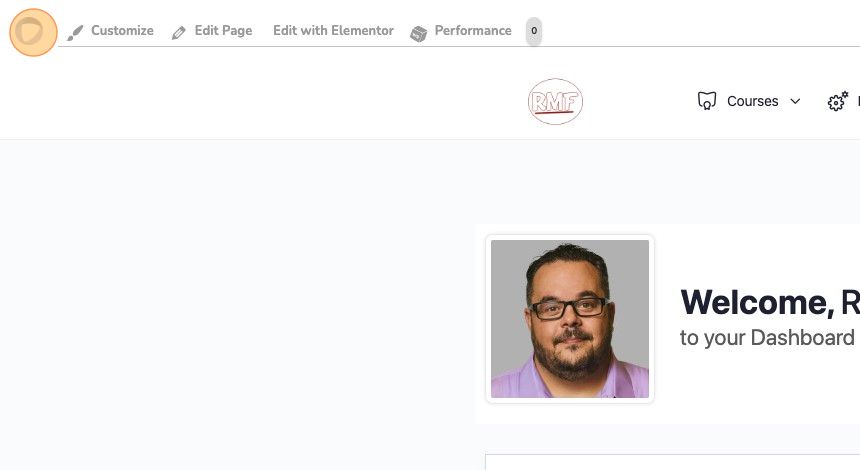
1. Navigate to the Admin Panel by clicking the blue icon in the top left of the page
2. Click and expand “LMS”
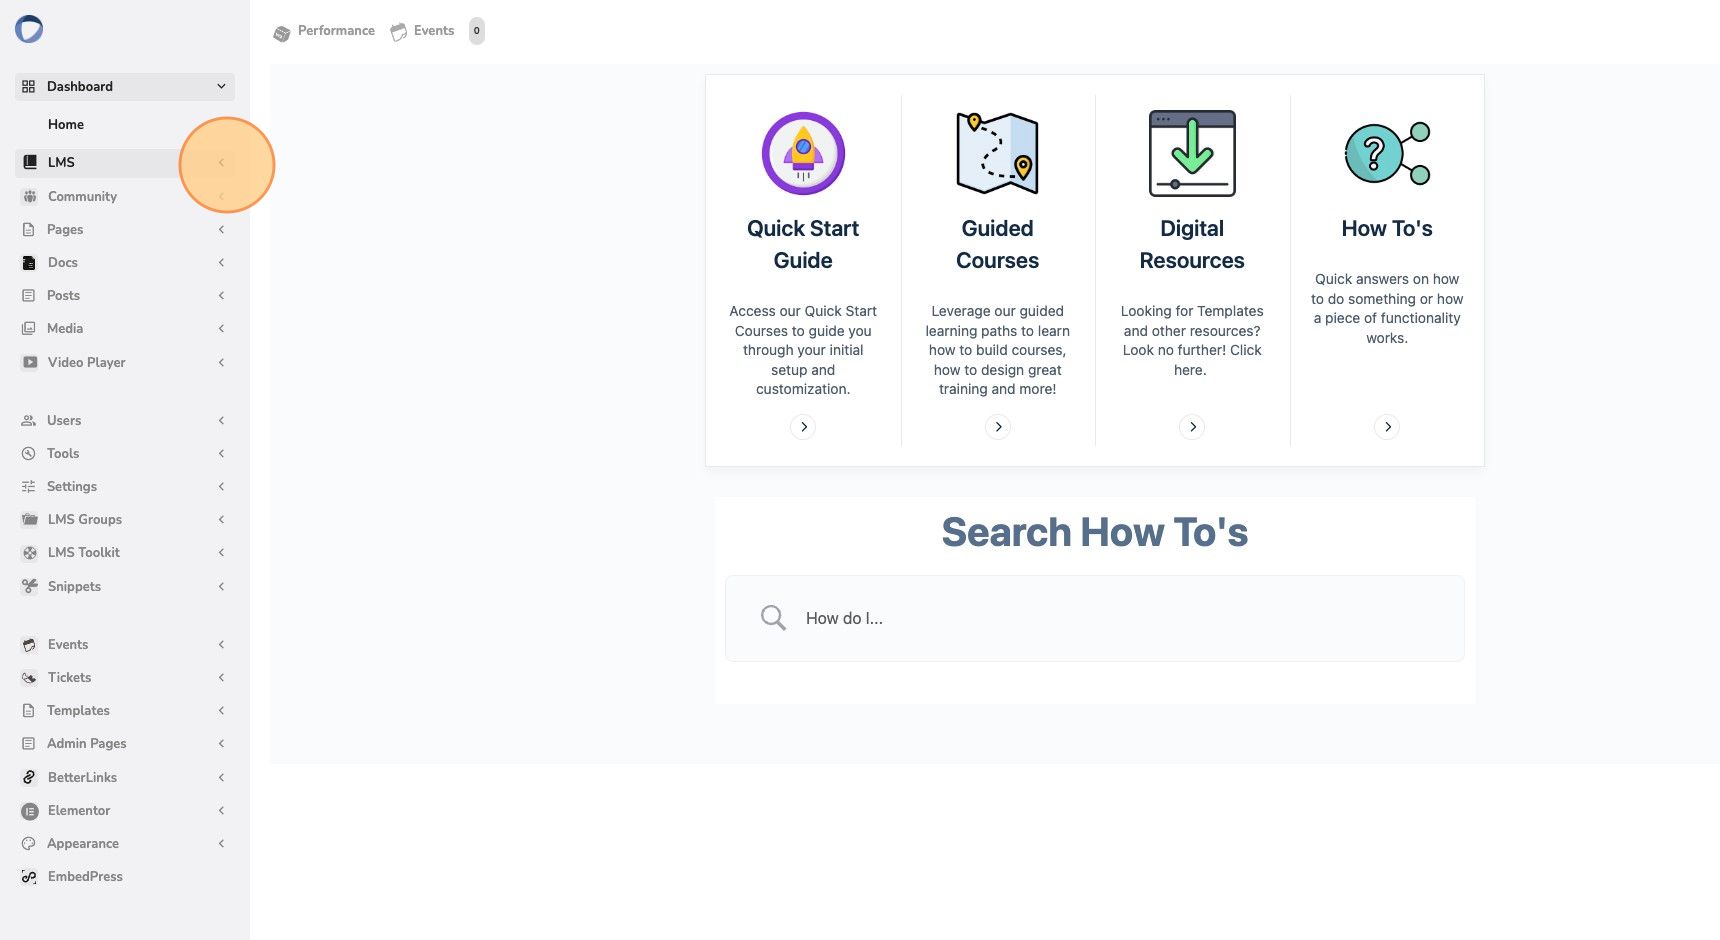
3. Click “Courses”
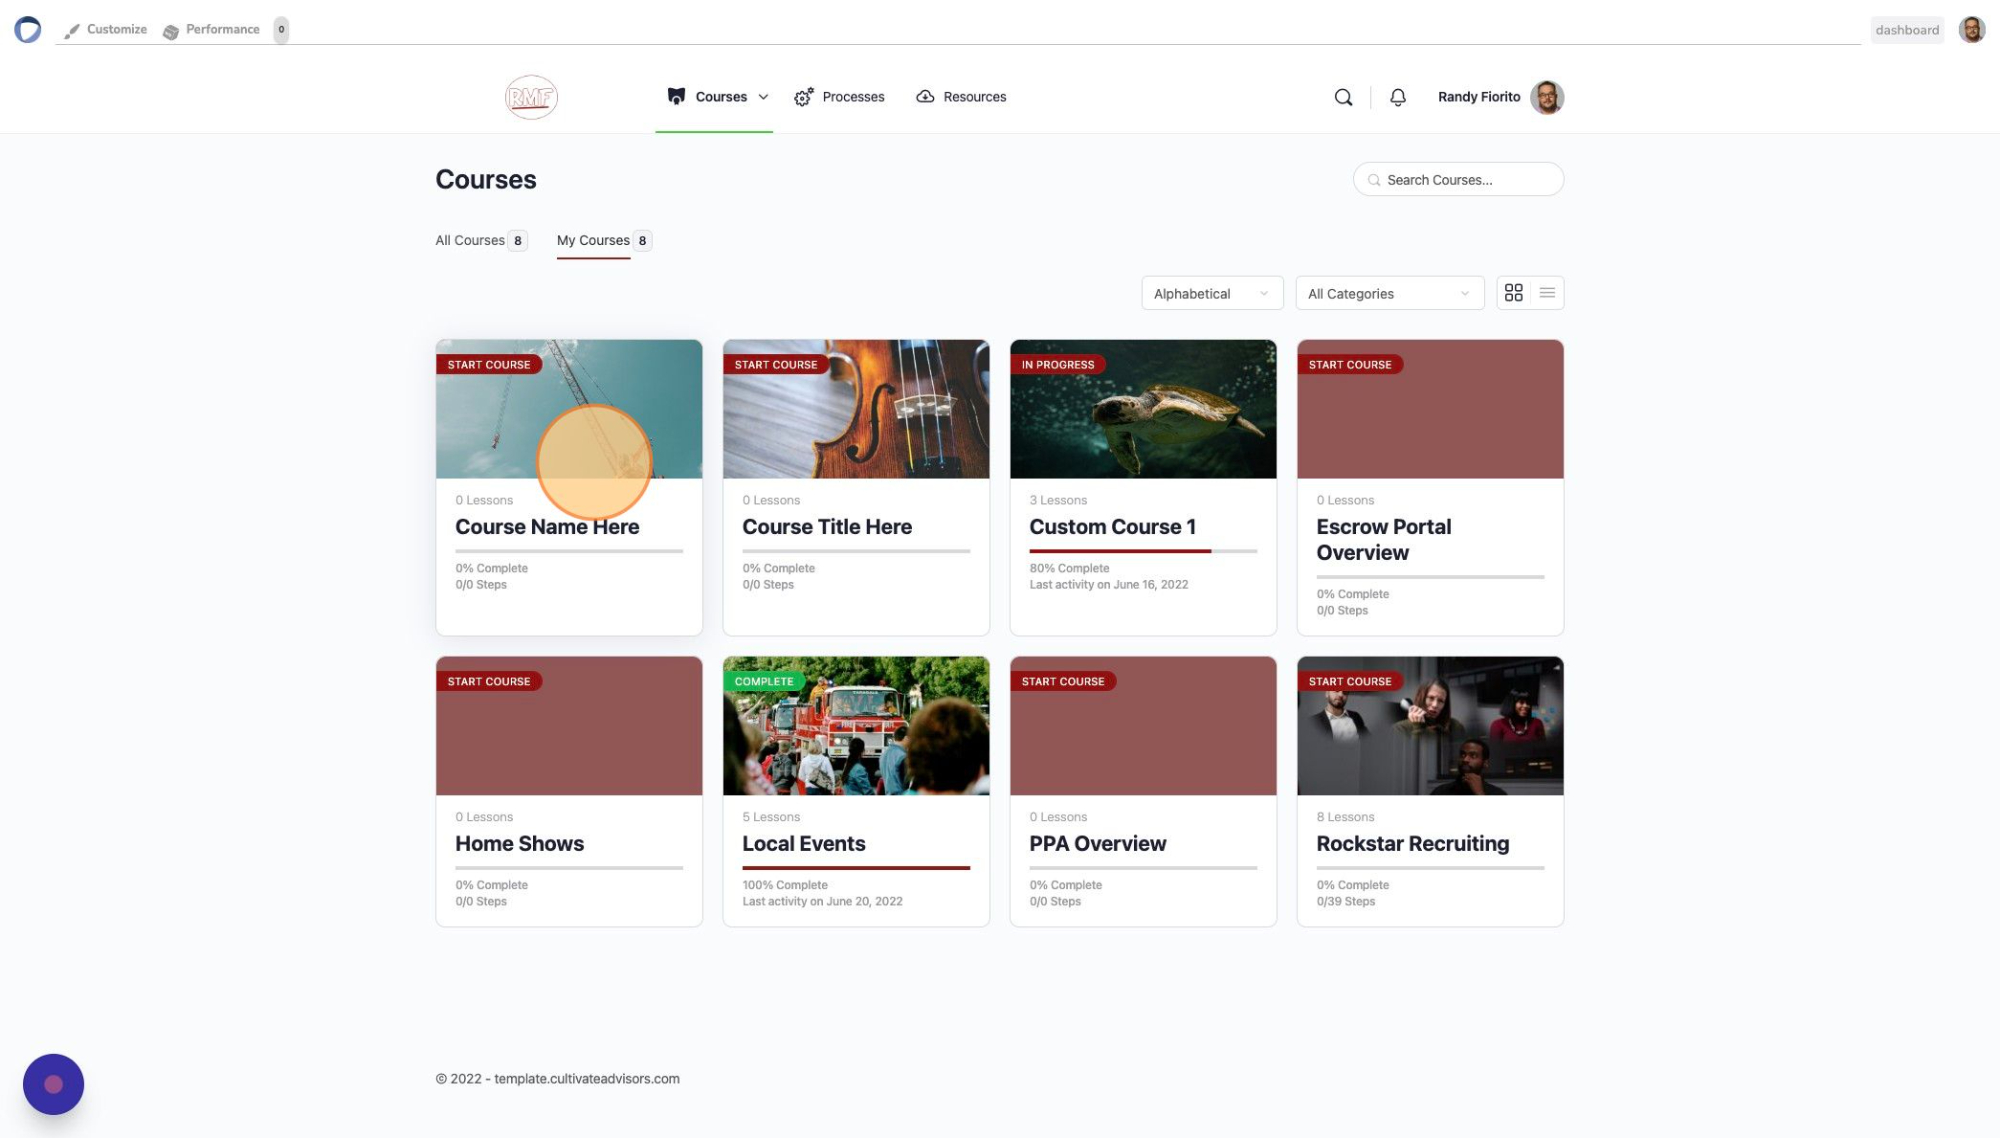
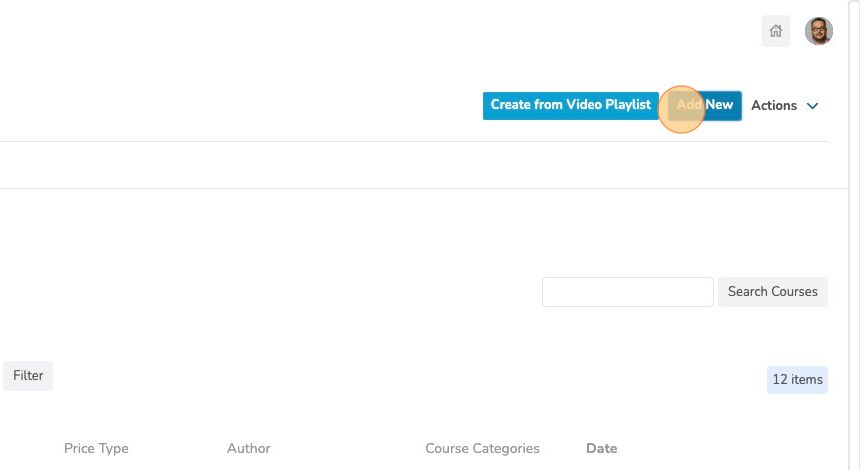
4. A list of Courses will appear, click the “Add New” button in the top right of the page
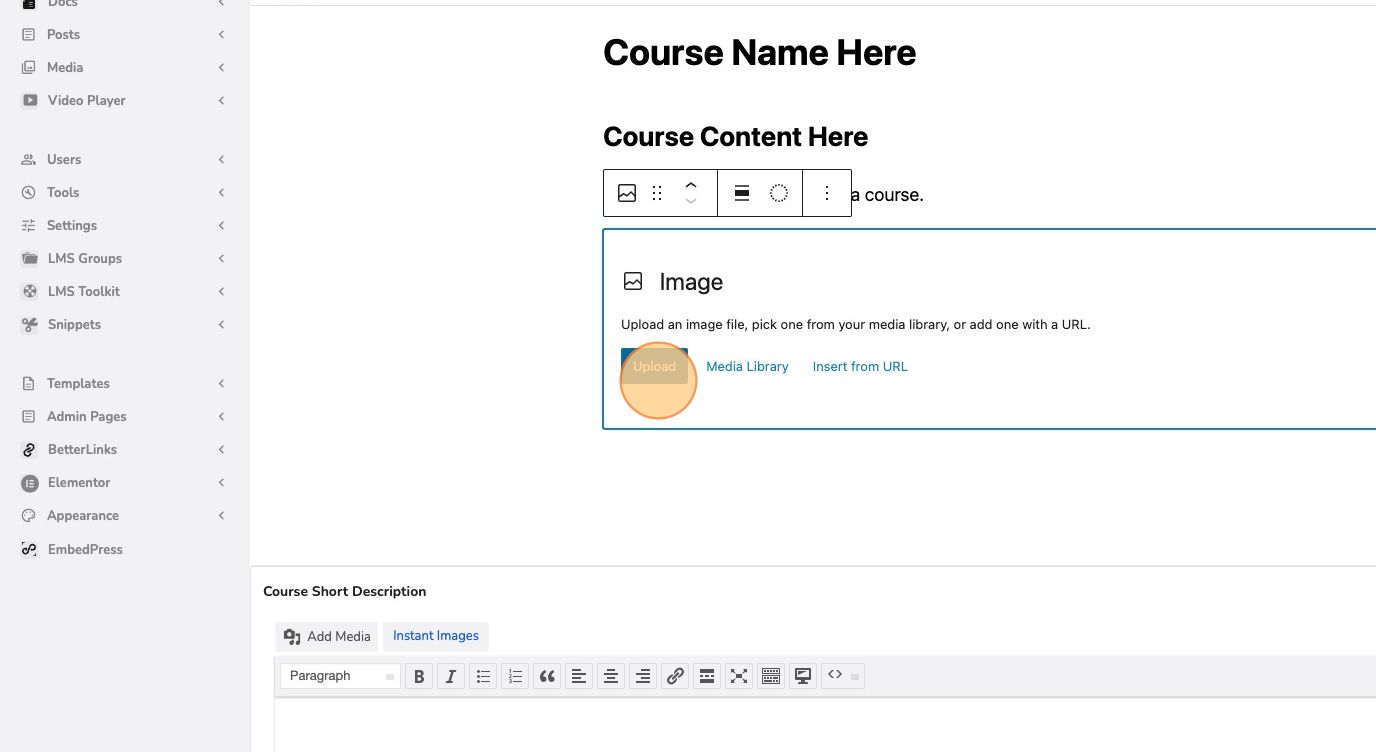
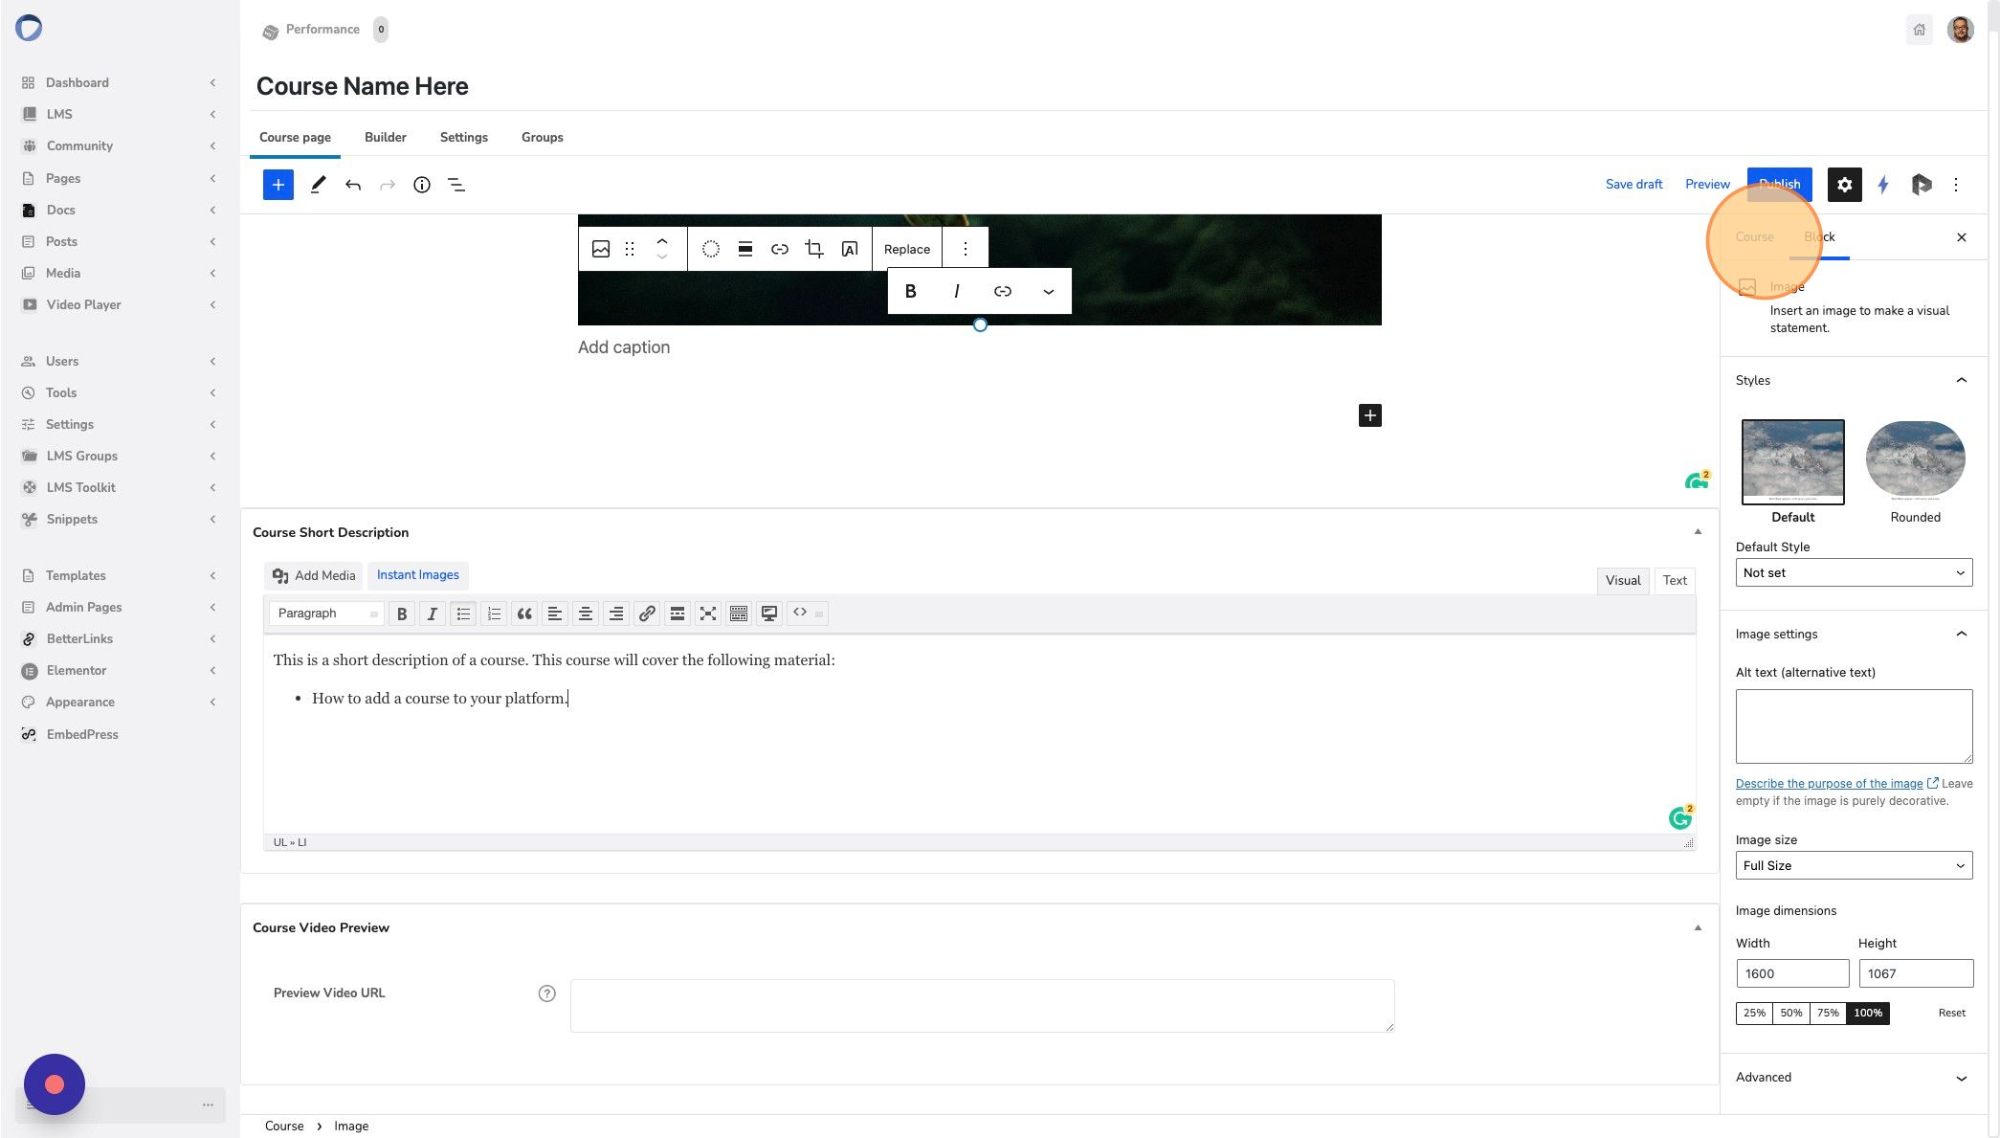
5. Give your course a name and use the page builder to design the front page of the course
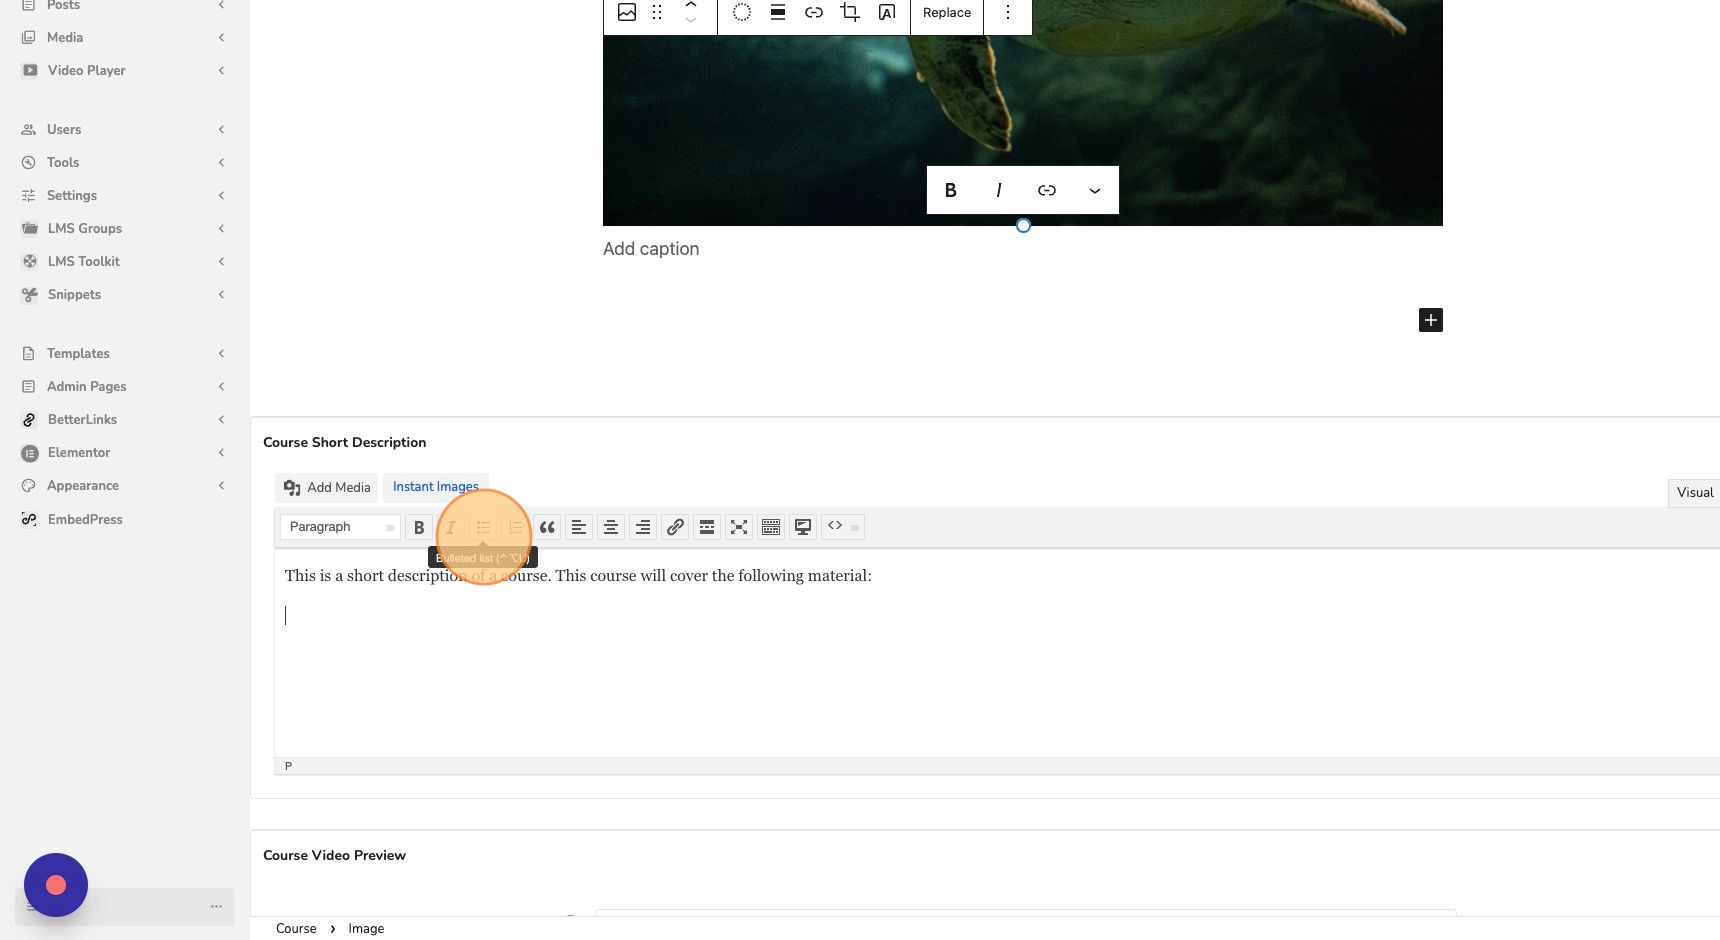
6. Fill in the brief description if applicable
Set a Featured Image and Cover Photo for the course #
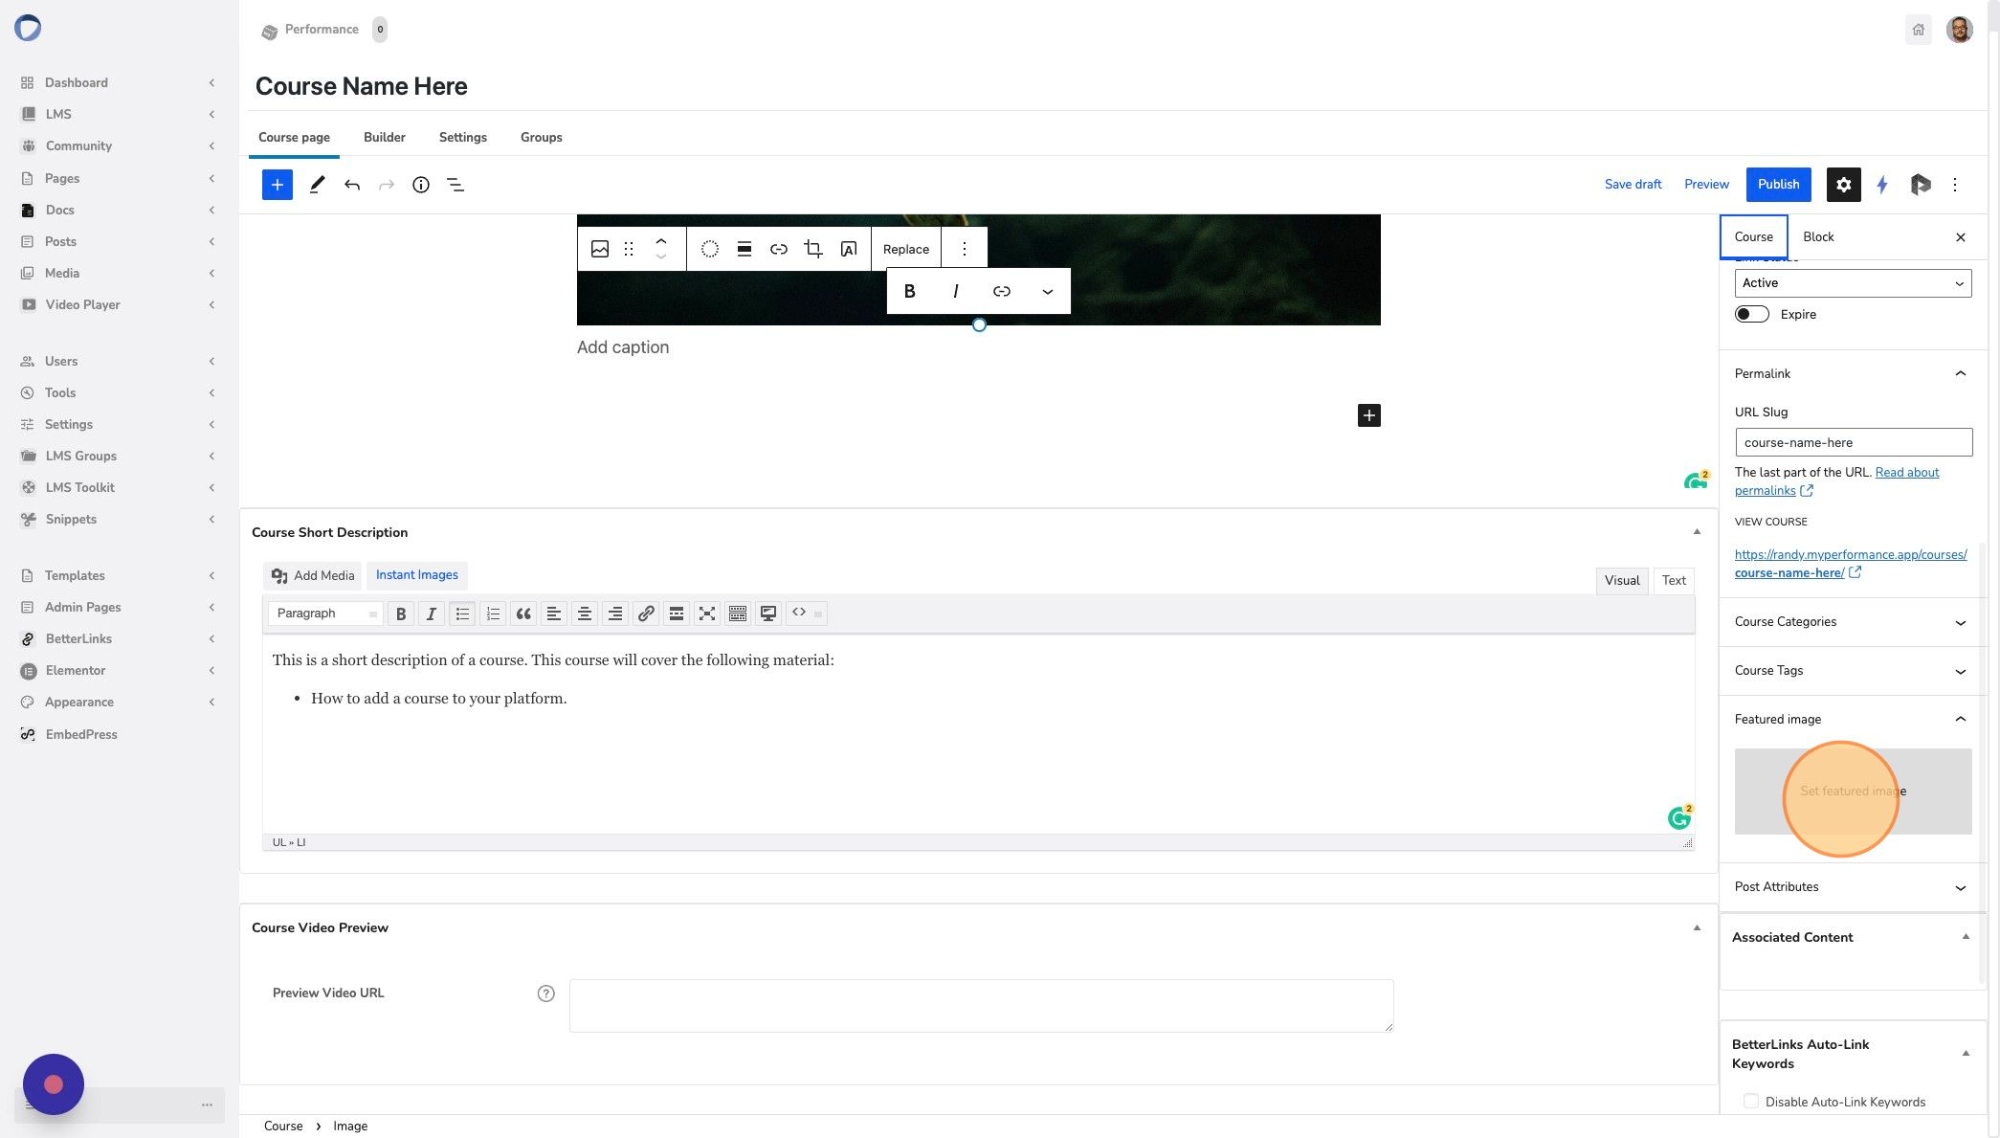
7. Make sure “Course” is selected in the right navigation panel
8. Click on Featured Image
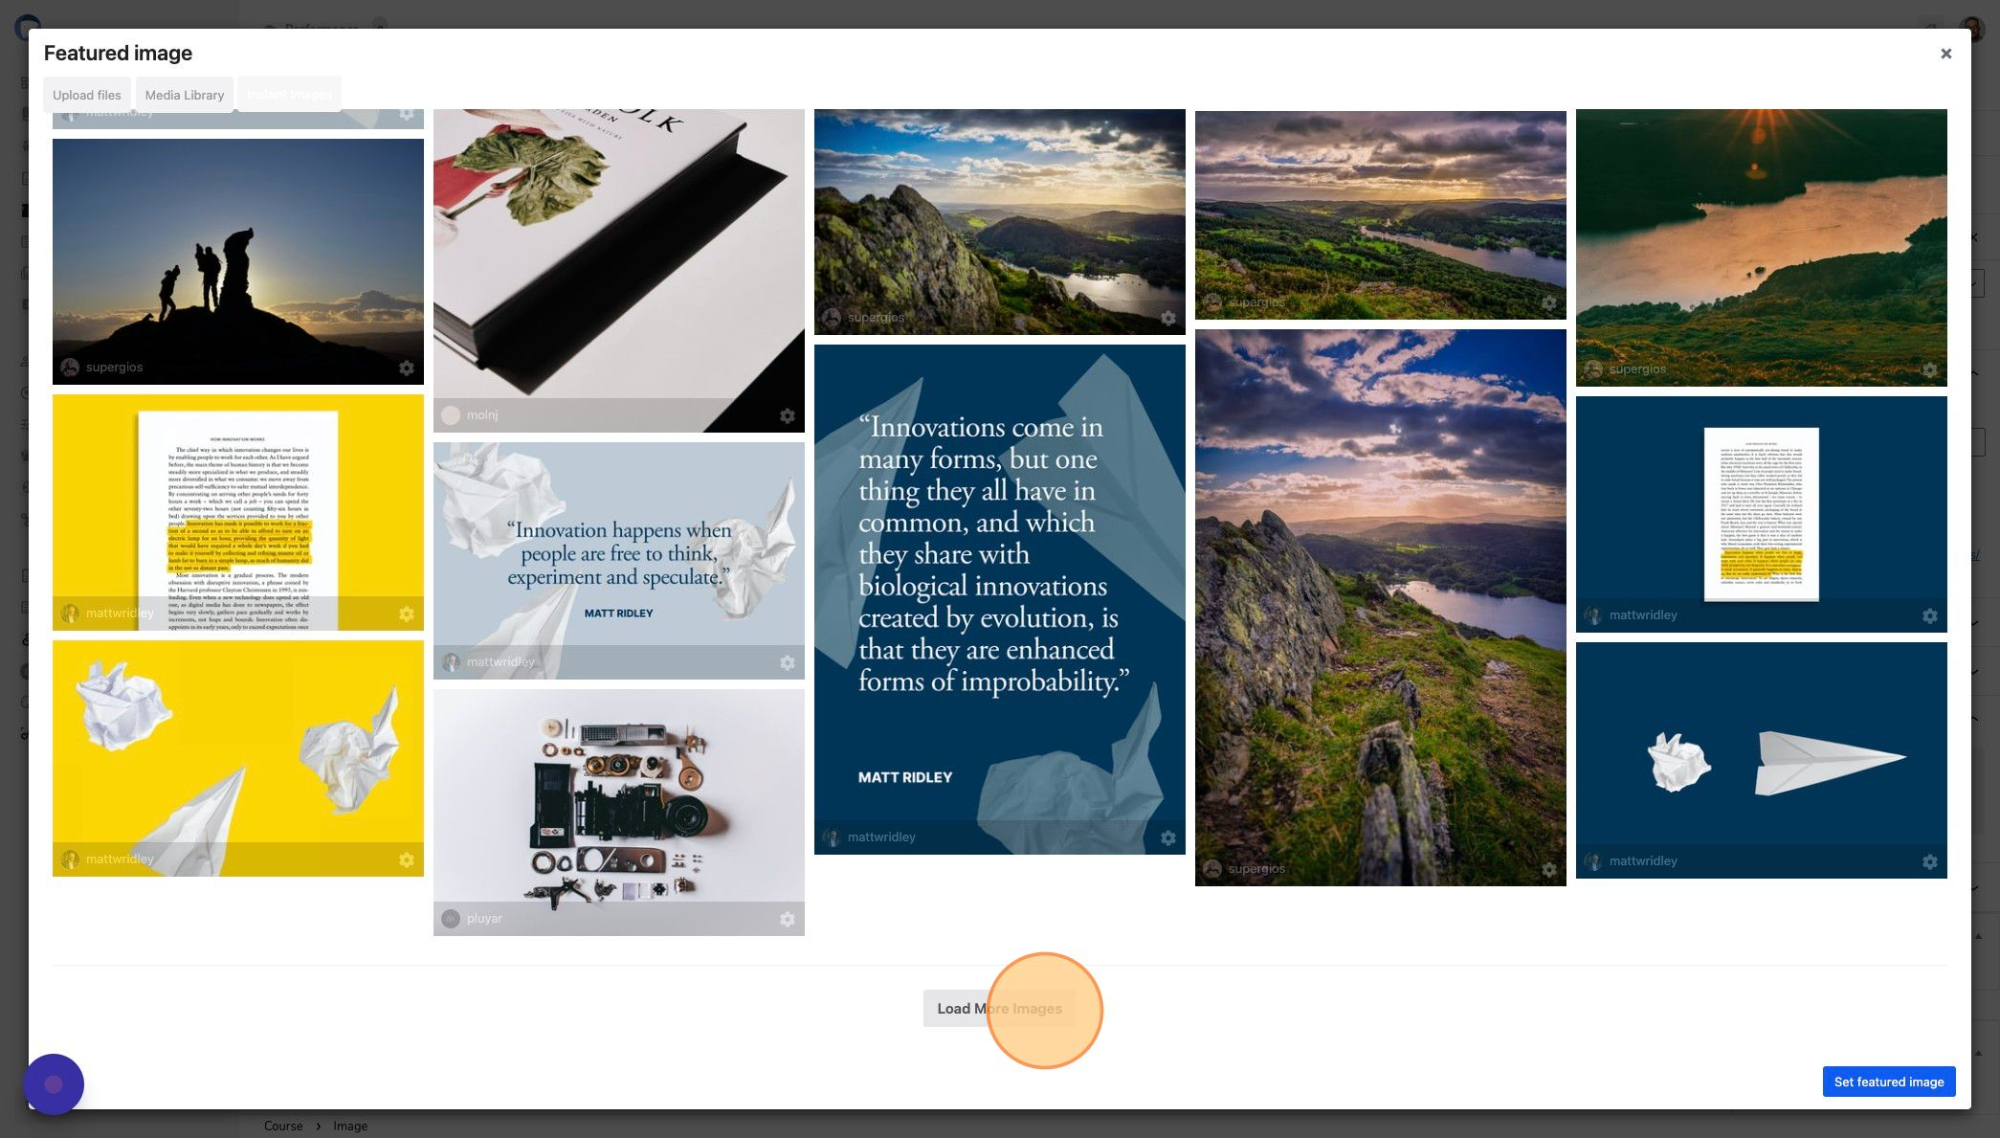
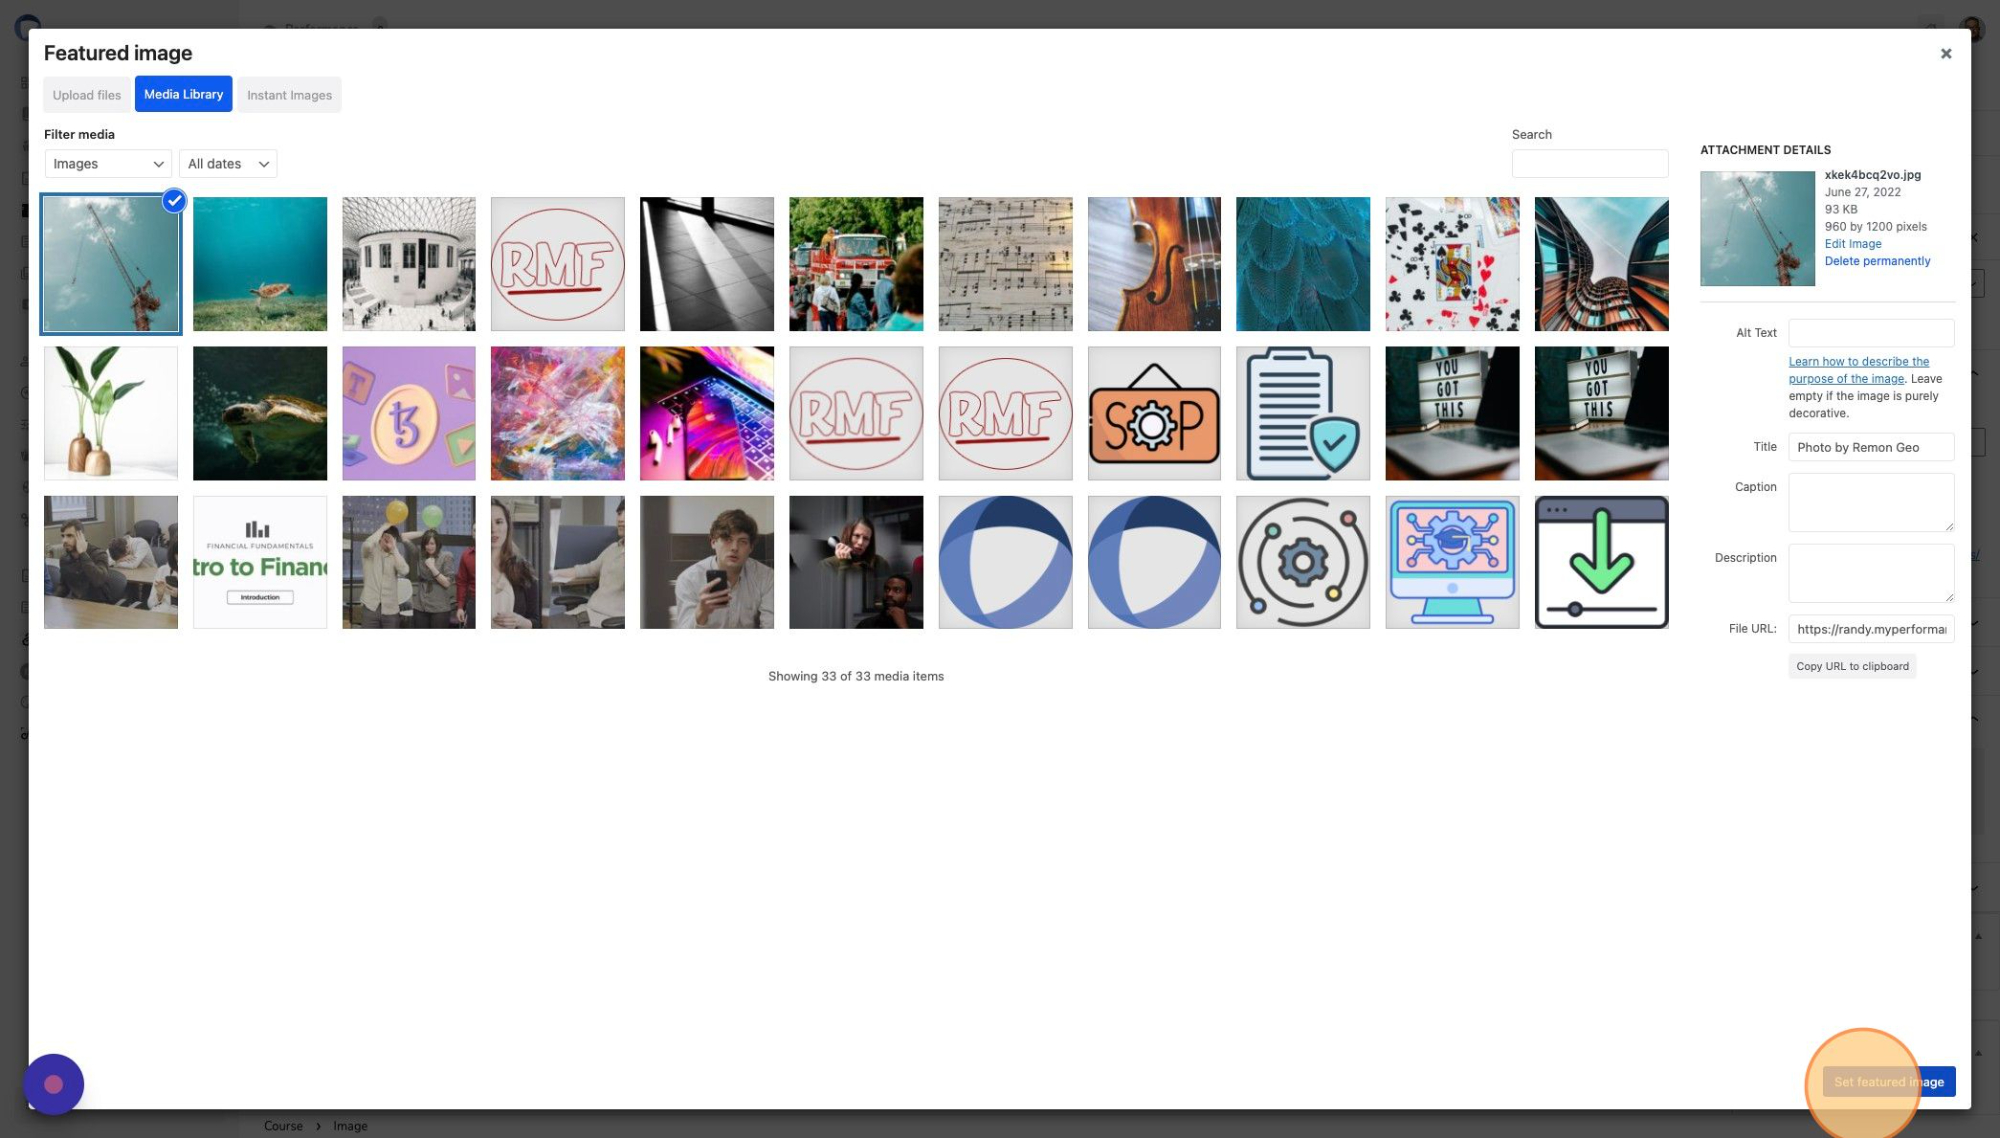
9. Upload an image from your computer, choose from your media library, or use the integrated Instant Images to choose the featured image for the course
10. Once you have chosen the image you like, make sure it is selected in the media library and click on the “Set Featured Image” button in the bottom right of the page
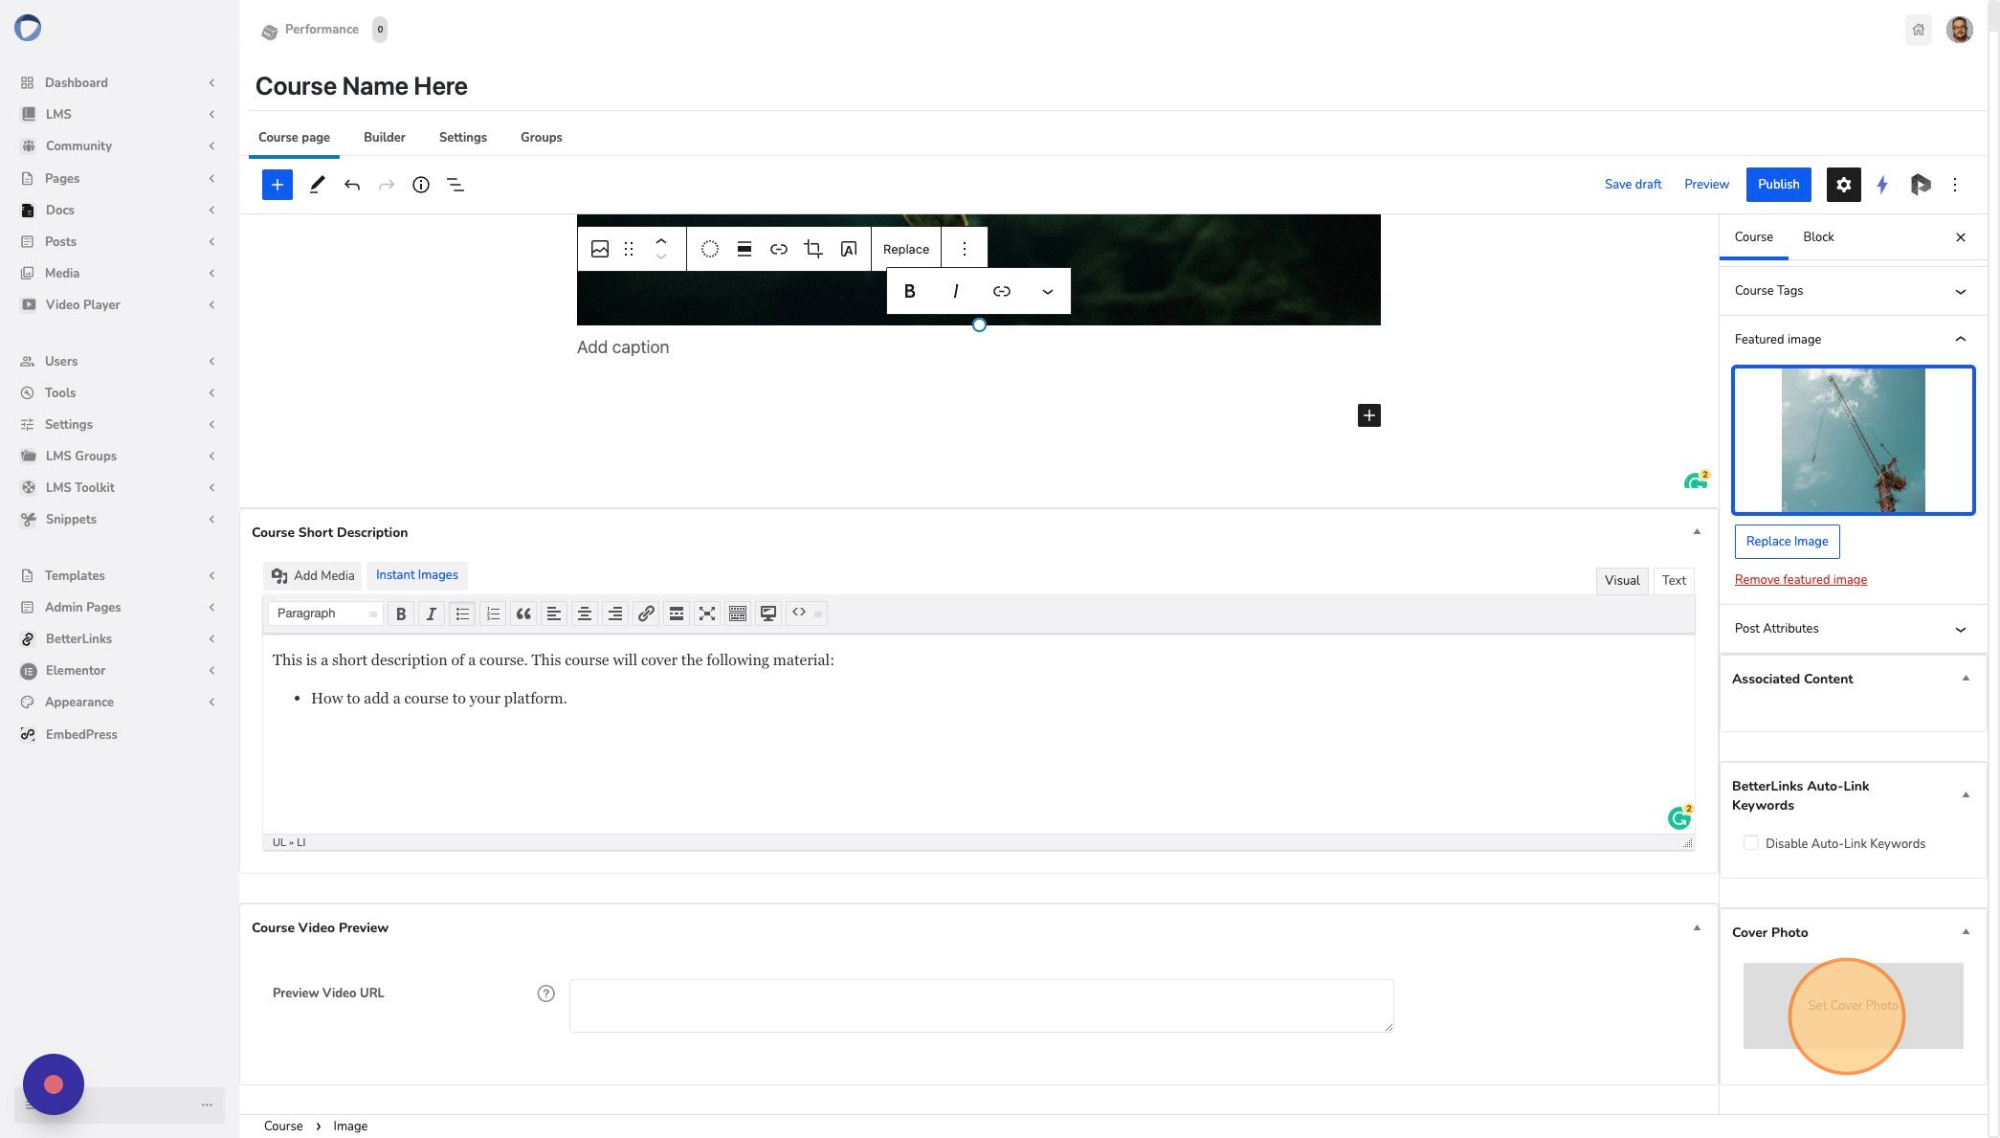
11. To include a Cover Photo in your course, click on “Cover Photo” and repeat steps 9 & 10 above
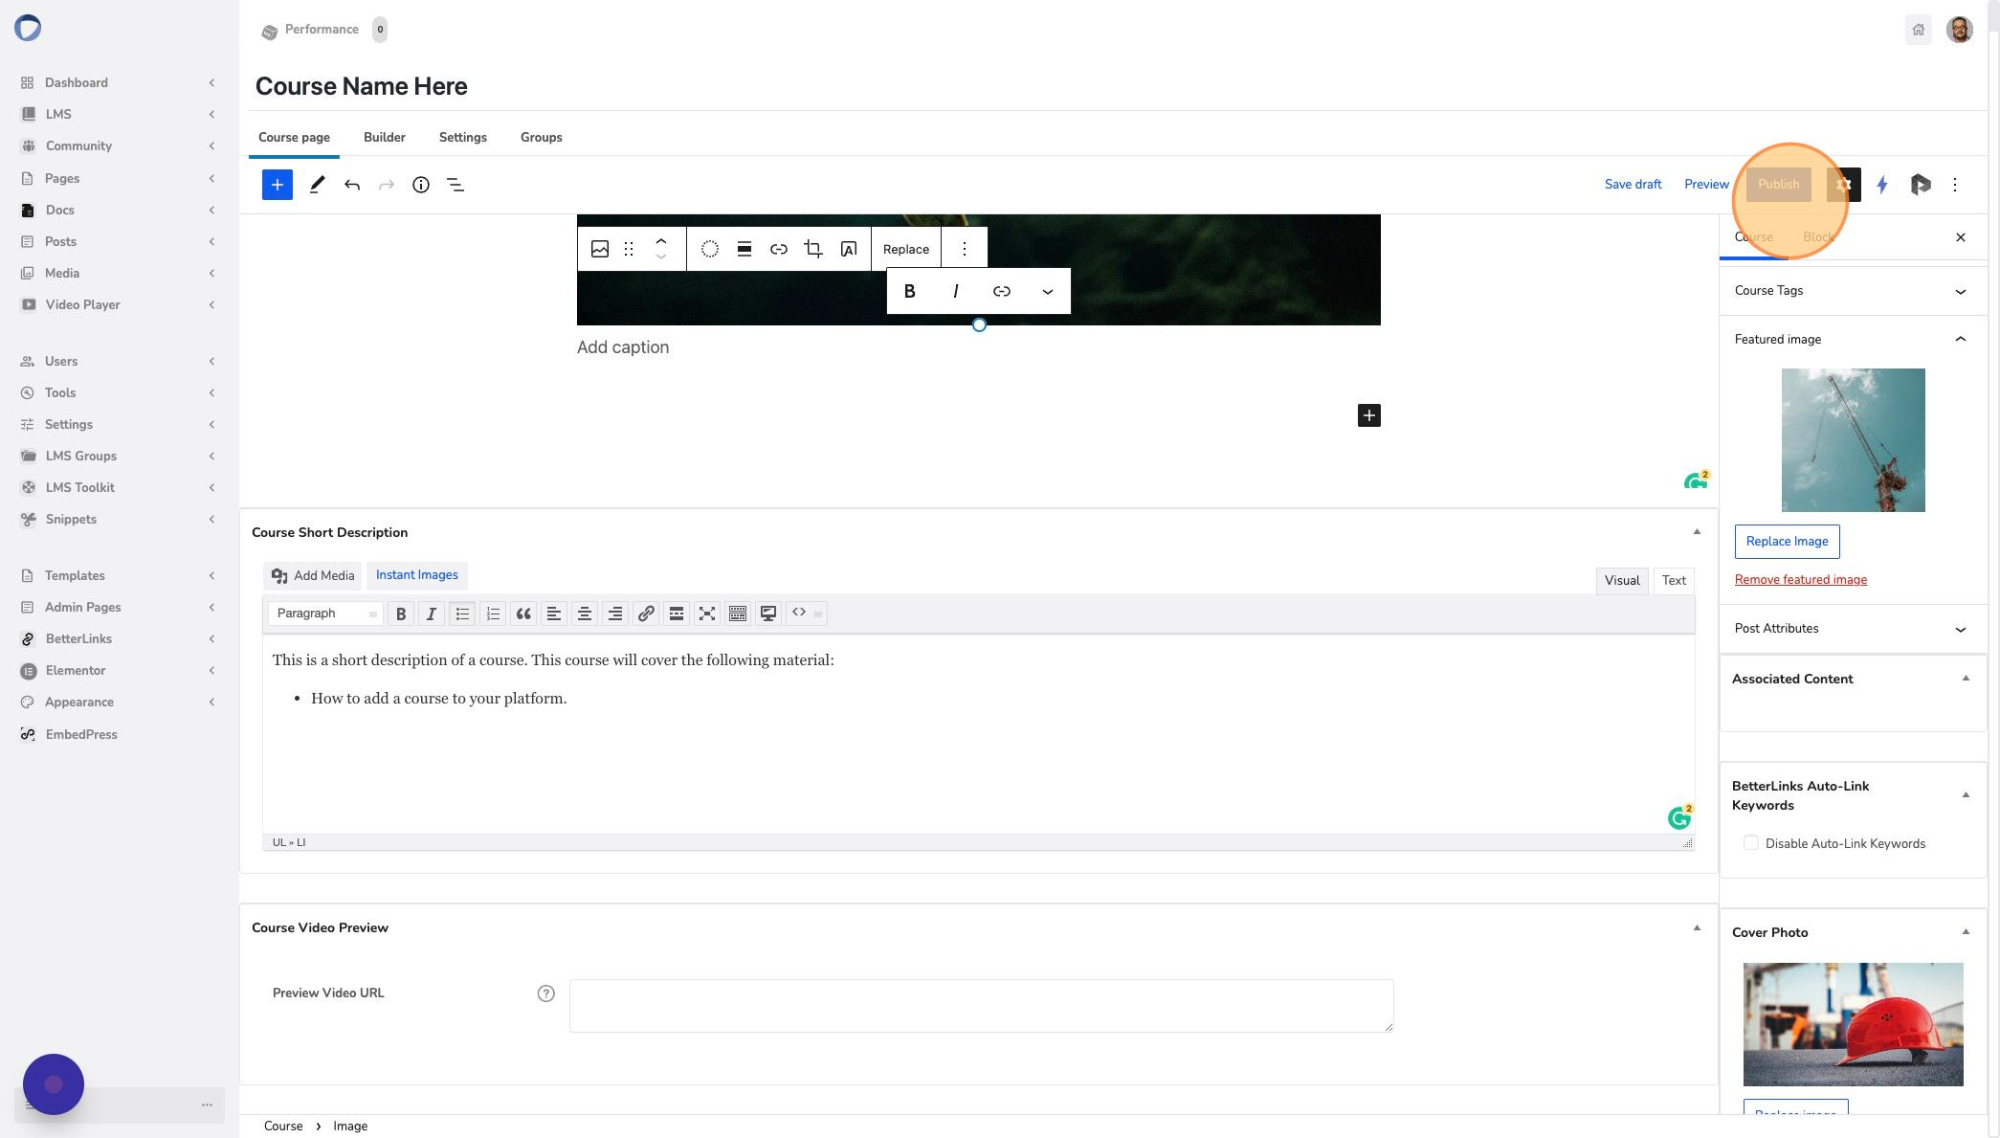
12. When you have the images and course content set, click on “Publish” at the top right of the page
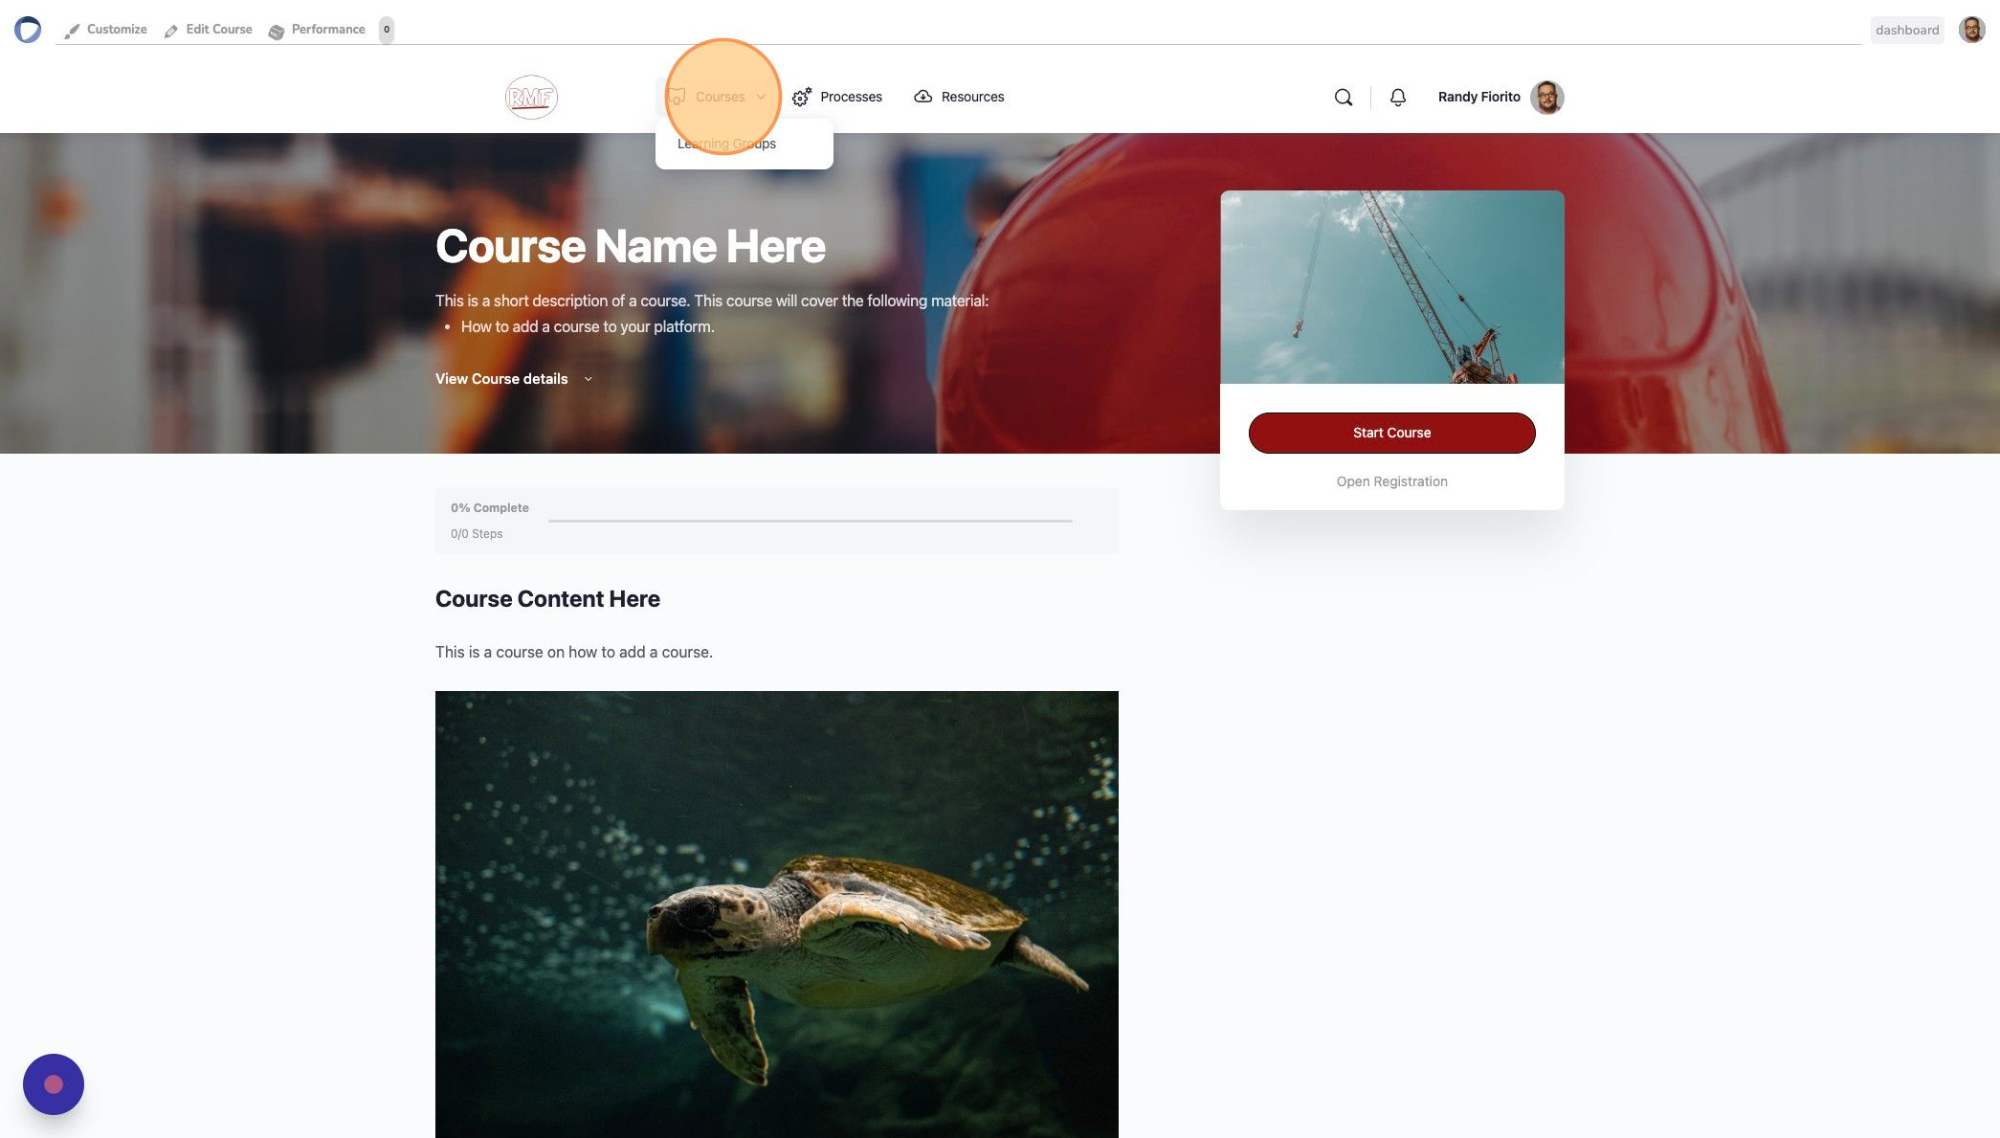
13. Once published, navigate back to the front end and click on “Courses” in the top navigation menu to preview your work